
在Photoshop中有许多种模拟天空渐变的方法,有些非常复杂,可以为我们提供出色的最终结果,而有些方法(今天将要学习的方法)既可以为我们提供完全相同的最终结果,又非常简单且容易制作。
在本教程中,您将学习如何使用1个单层在Photoshop中复制天空渐变(无论您想要的天空如何)。
具体步骤:
步骤1
在Photoshop中打开包含要复制的天空的基本图像。

步骤2
选择“裁剪工具”(C),注意使用天空的下部接触画布底侧,而天空的顶部接触画布顶端的方式裁切图像。

步骤3
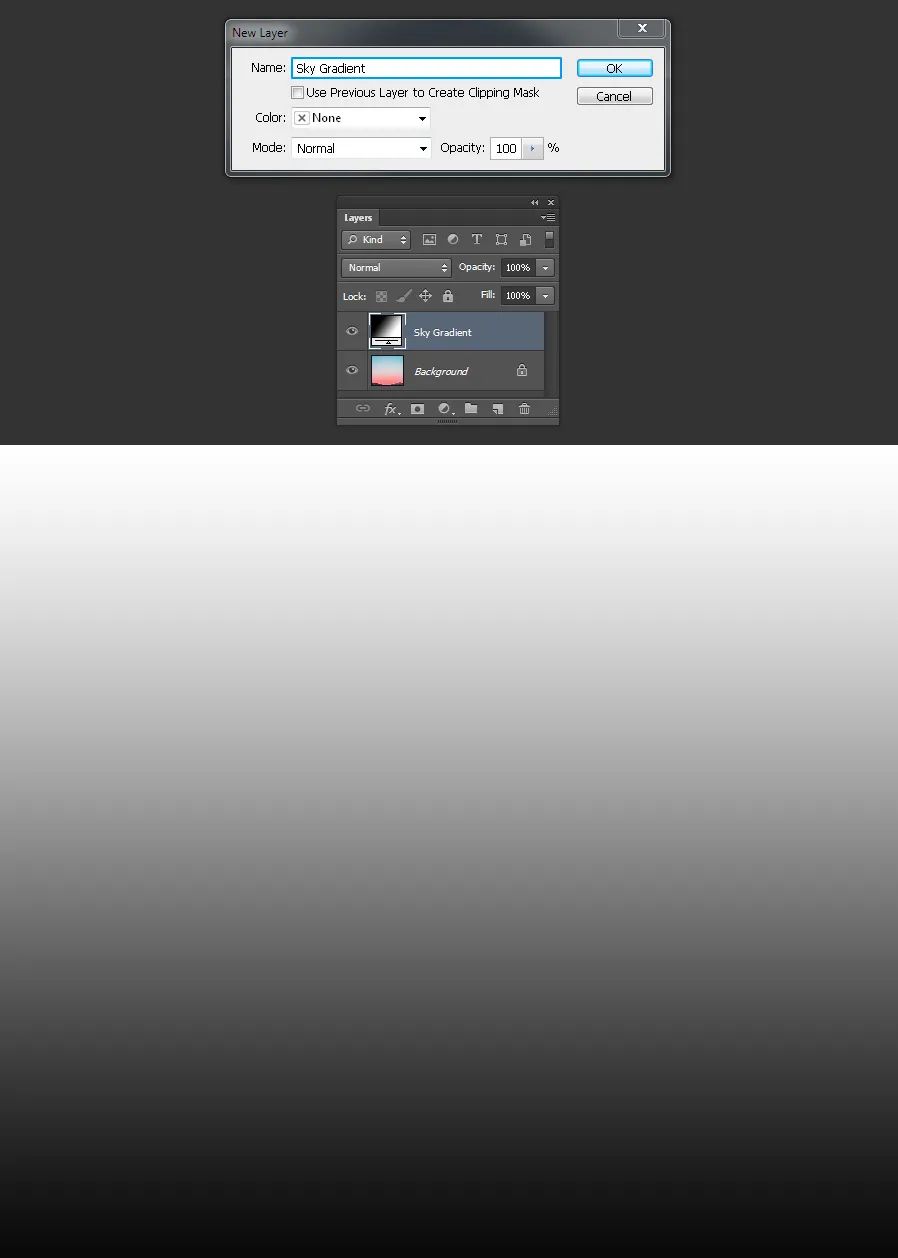
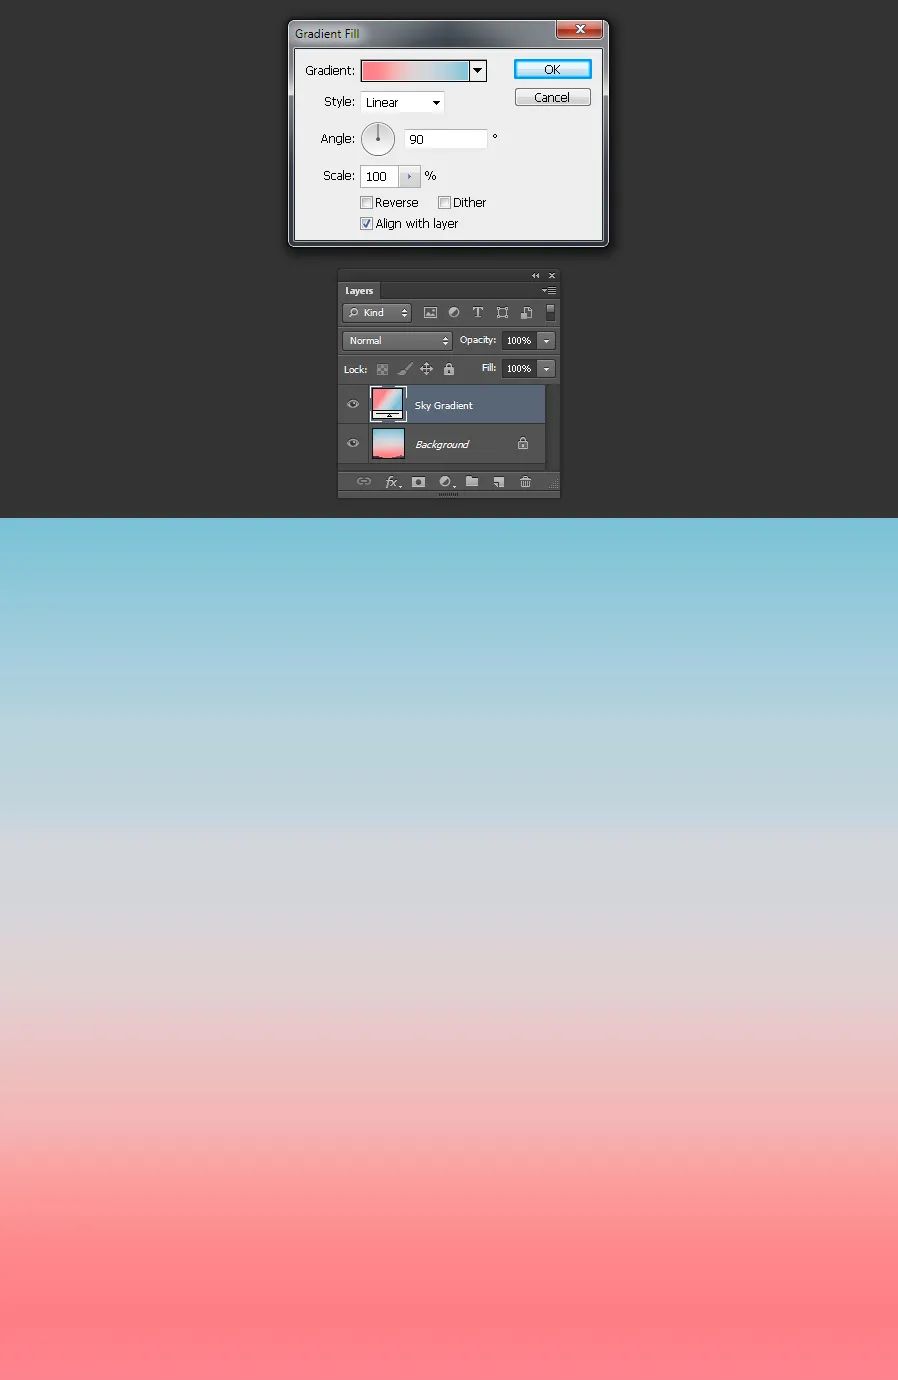
转到图层>新建填充图层>渐变。将该层命名为“天空渐变”,然后单击“确定”。
步骤4
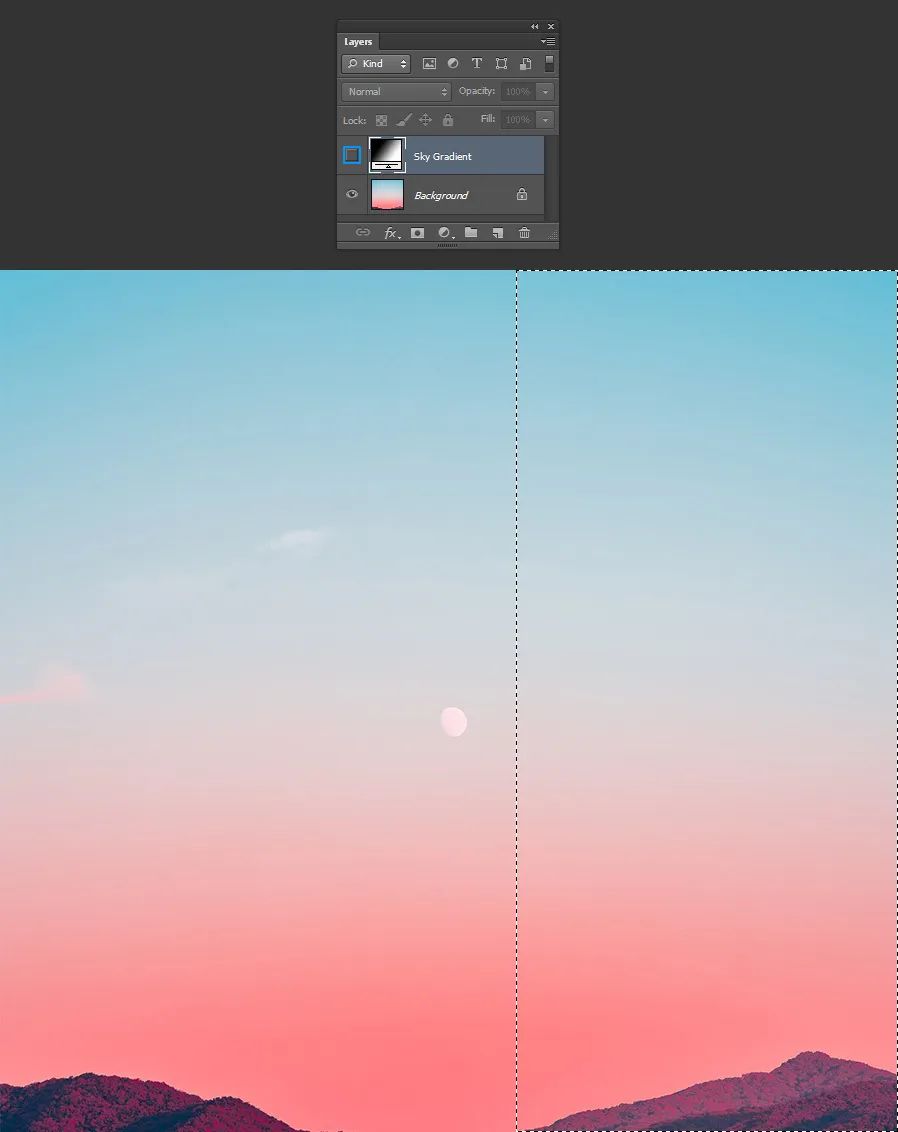
隐藏“天空渐变”层,使用“矩形选框工具”(M)绘制一个选择,如图所示。
步骤5
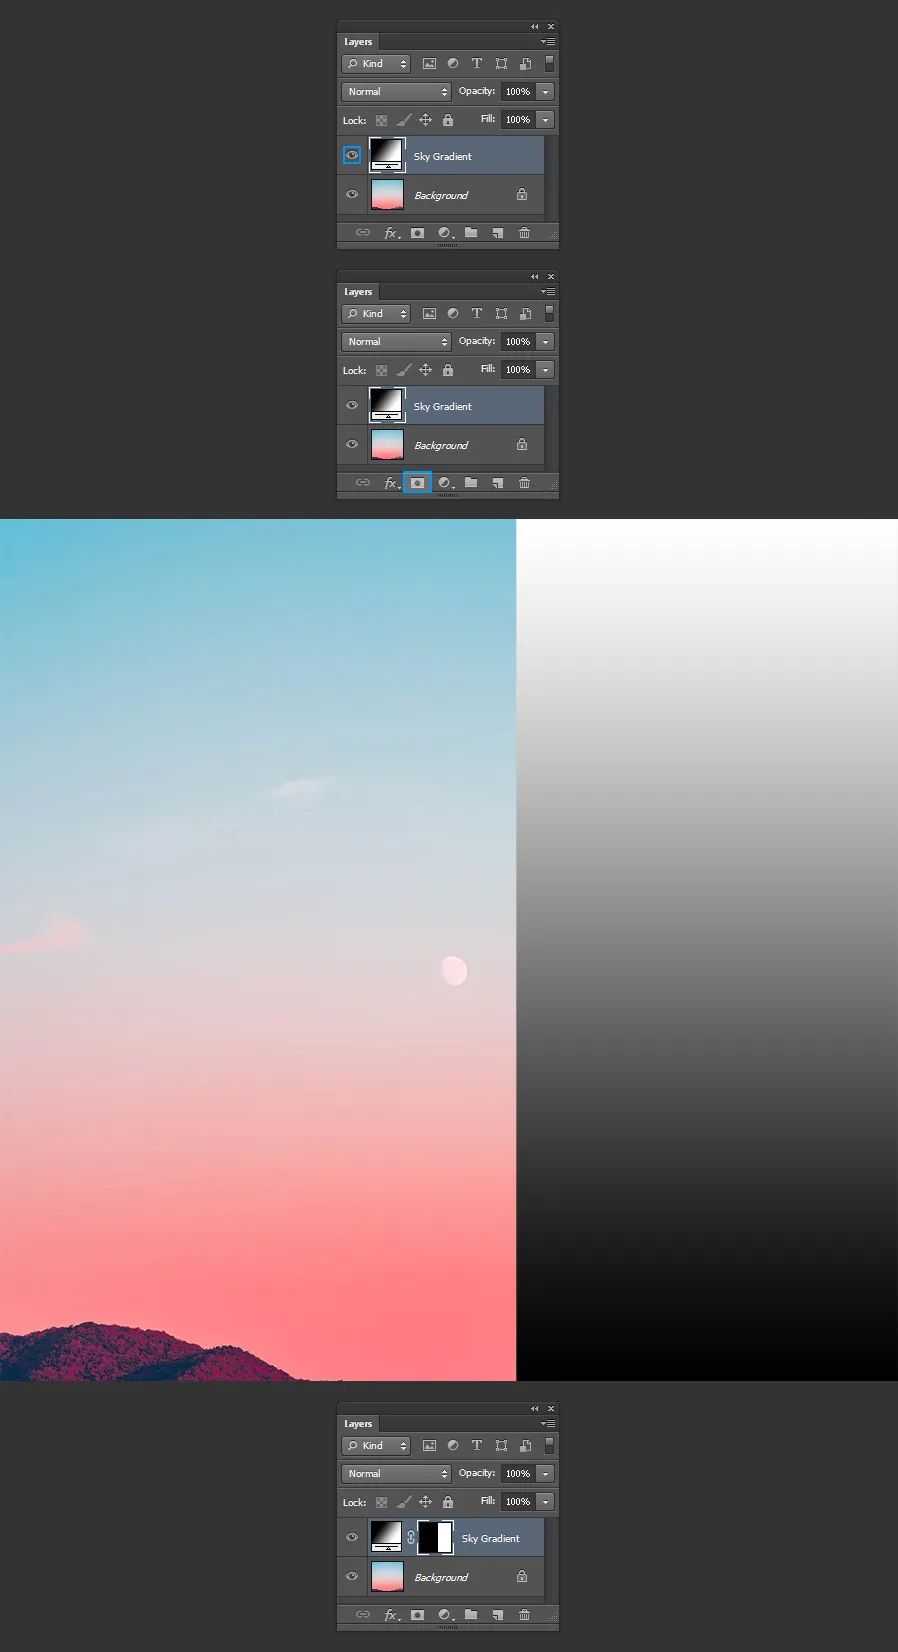
使“天空渐变”图层再次可见,在“图层面板”中单击“添加图层蒙版”图标。
步骤6
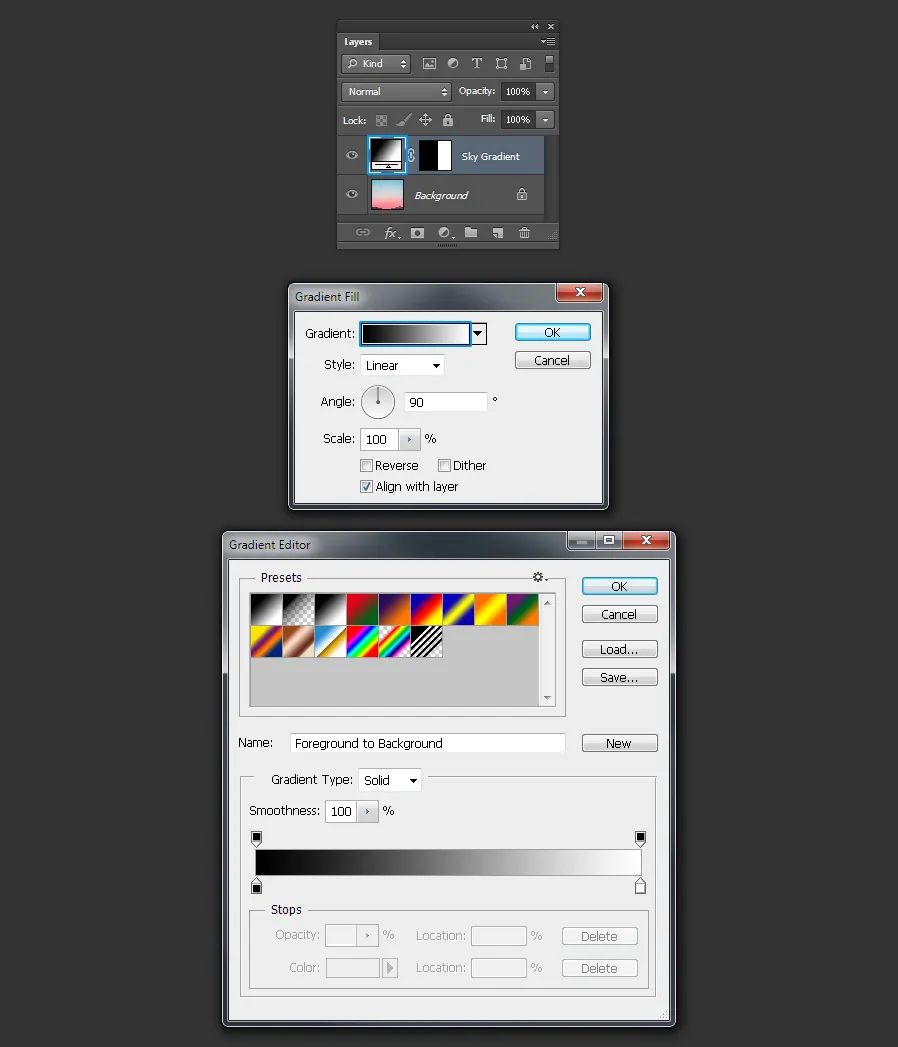
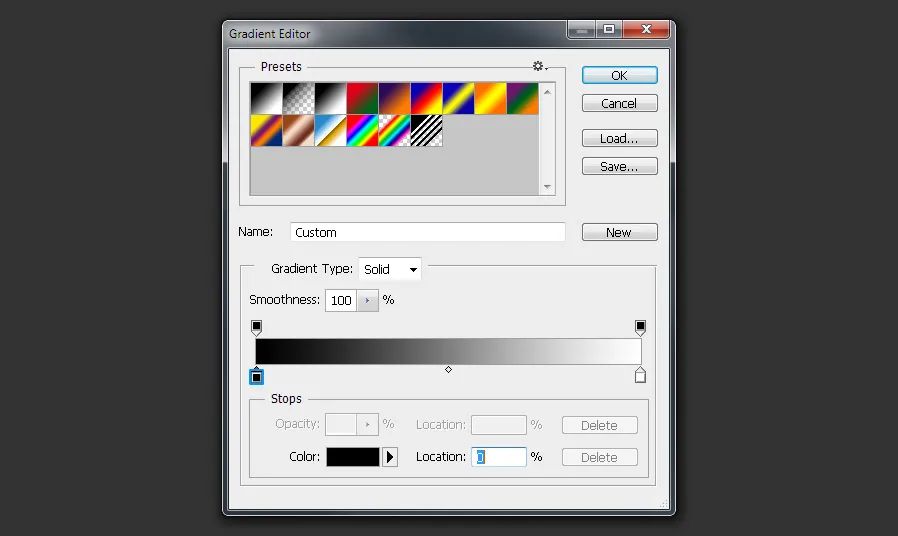
双击“天空渐变”图层缩略图,在“渐变填充”窗口中,单击渐变,显示“渐变编辑器”。
步骤7
在“渐变编辑器”中,单击黑色色标,将其选中。
步骤8
单击天空图像的下部,选择最底部的红色并将其应用于我们的新渐变。
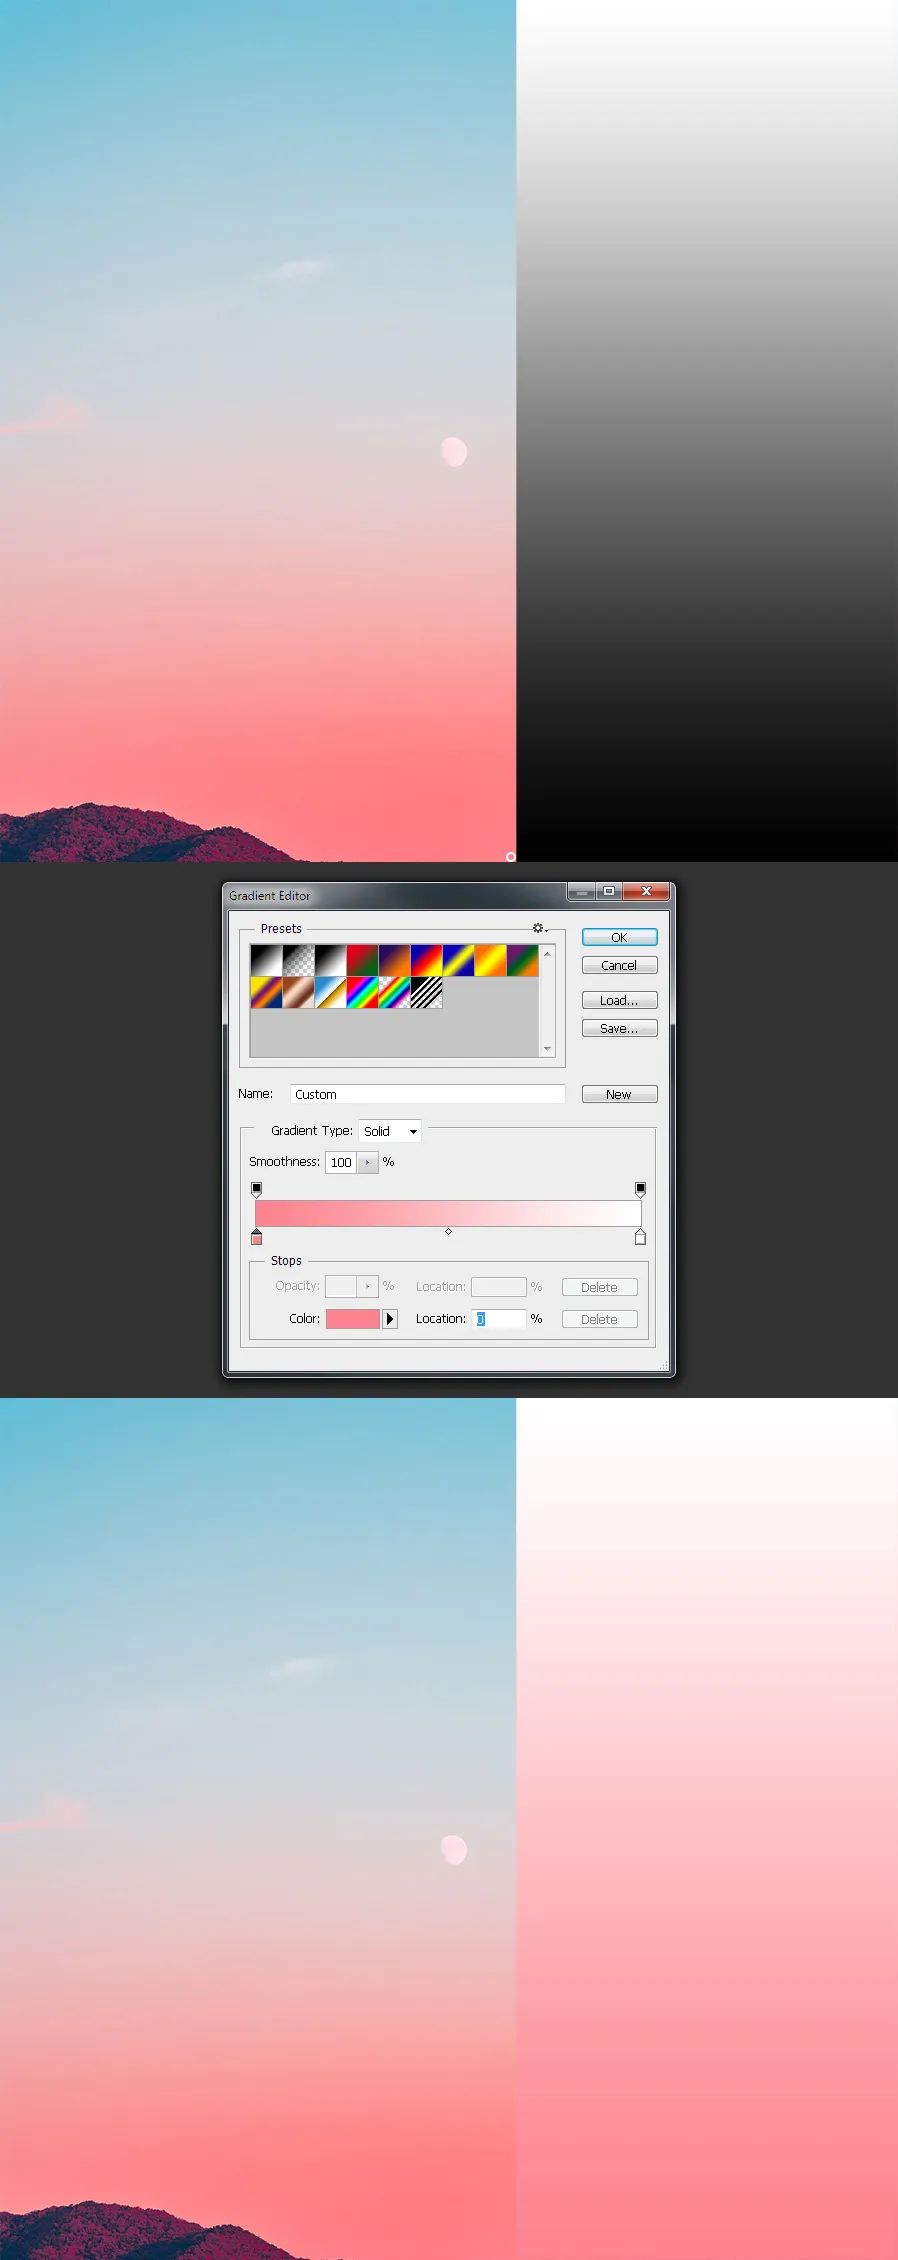
步骤9
在渐变编辑器中,单击白色色标,将其选中。
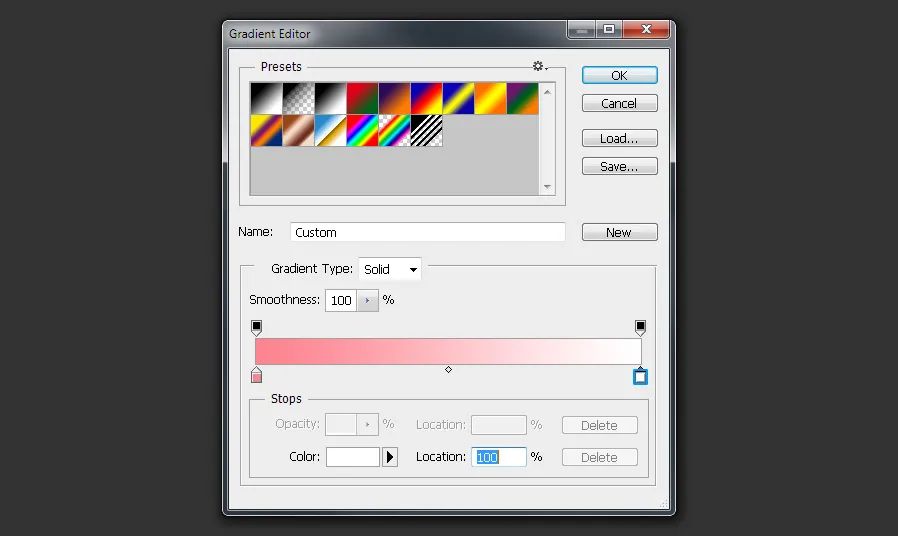
步骤10
现在,单击天空图像的顶部,选择最顶端的蓝色并将其应用于我们的新渐变。

步骤11
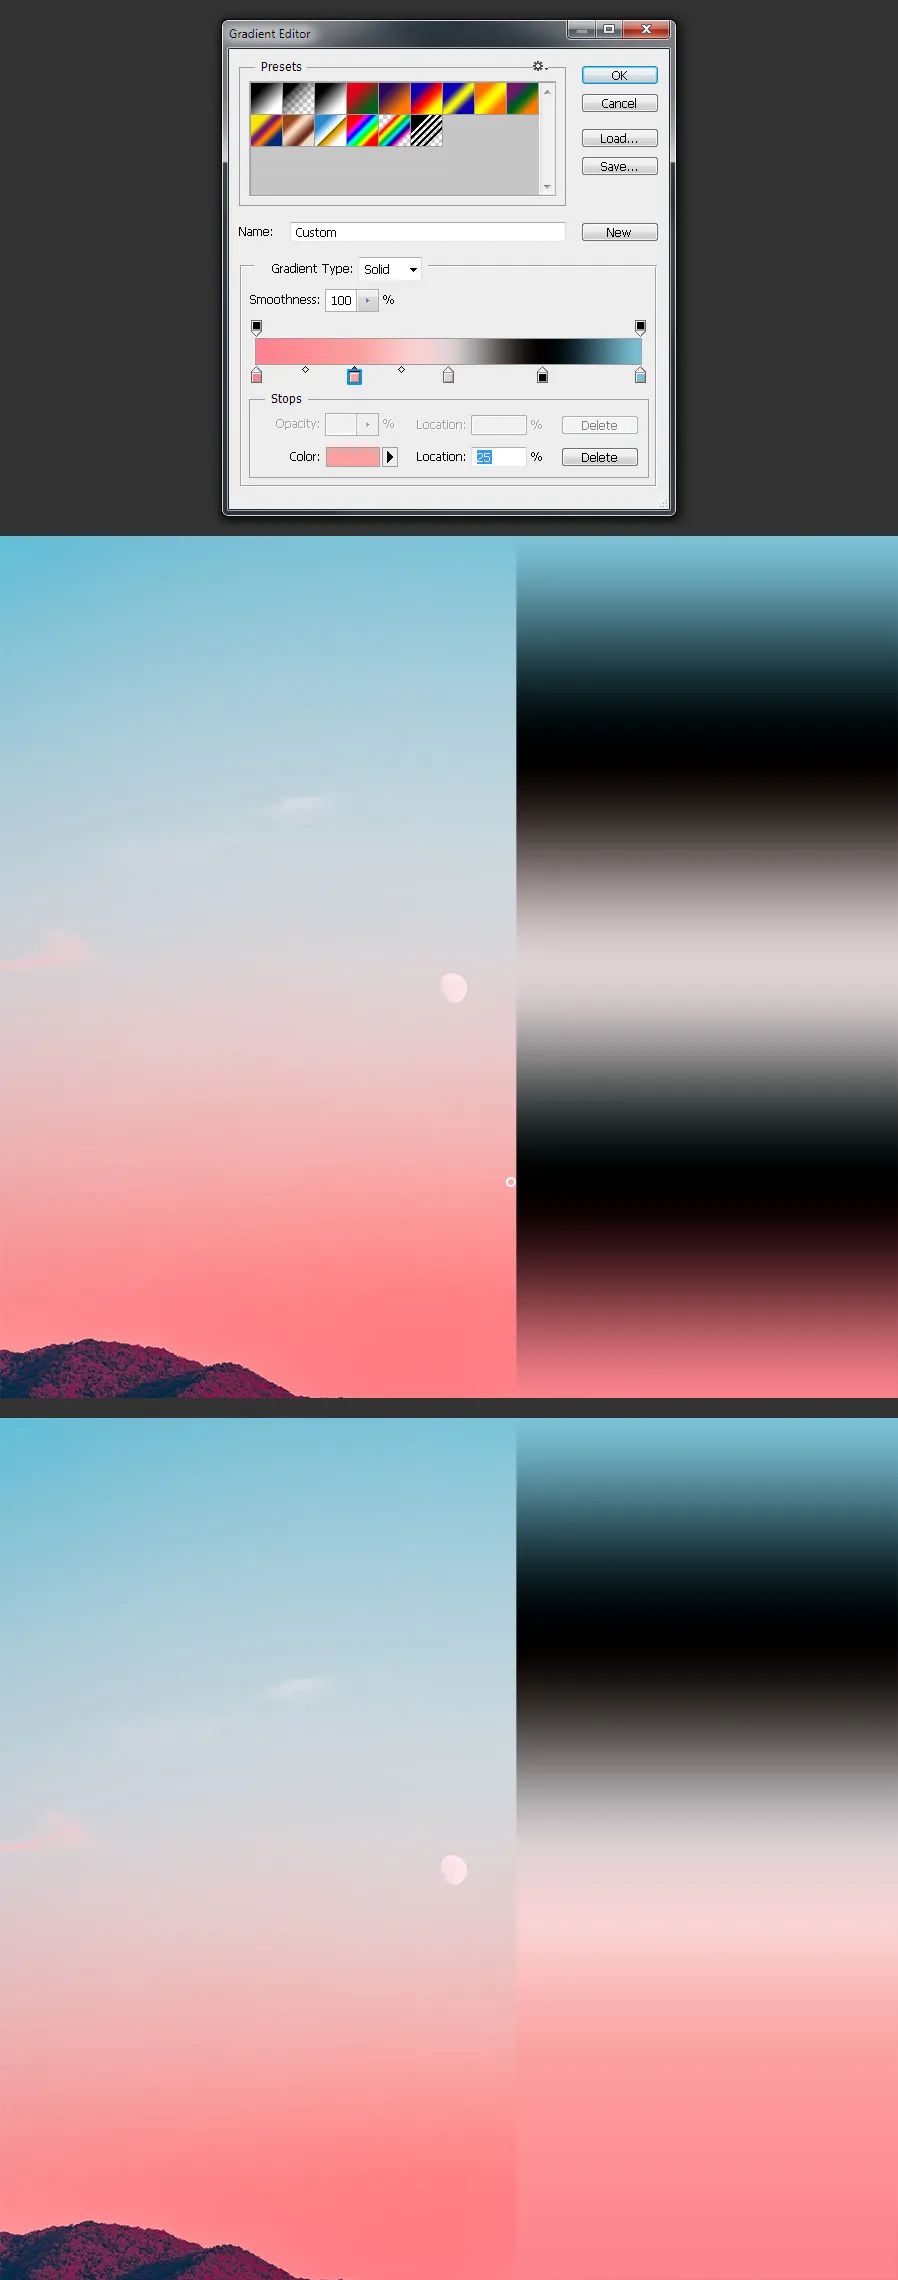
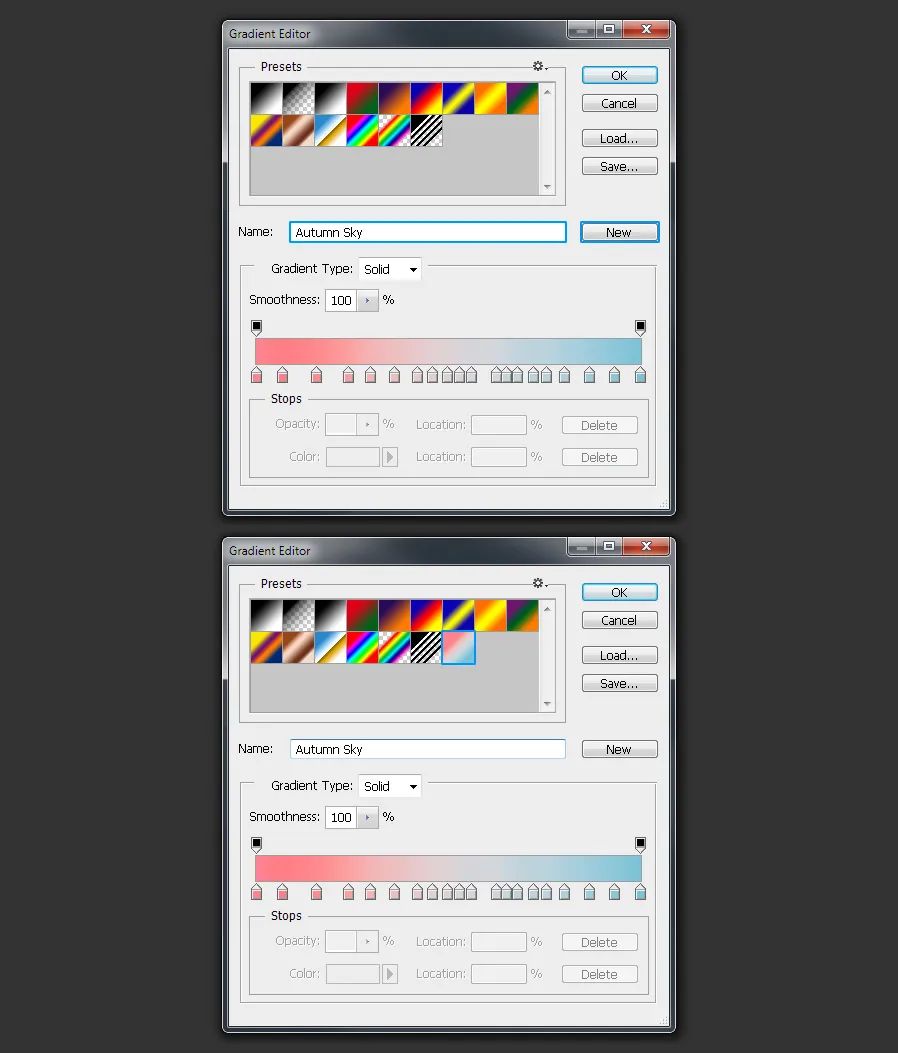
在渐变编辑器中,单击渐变矩形的下部添加新的色标。确保将颜色的位置停止在50%。
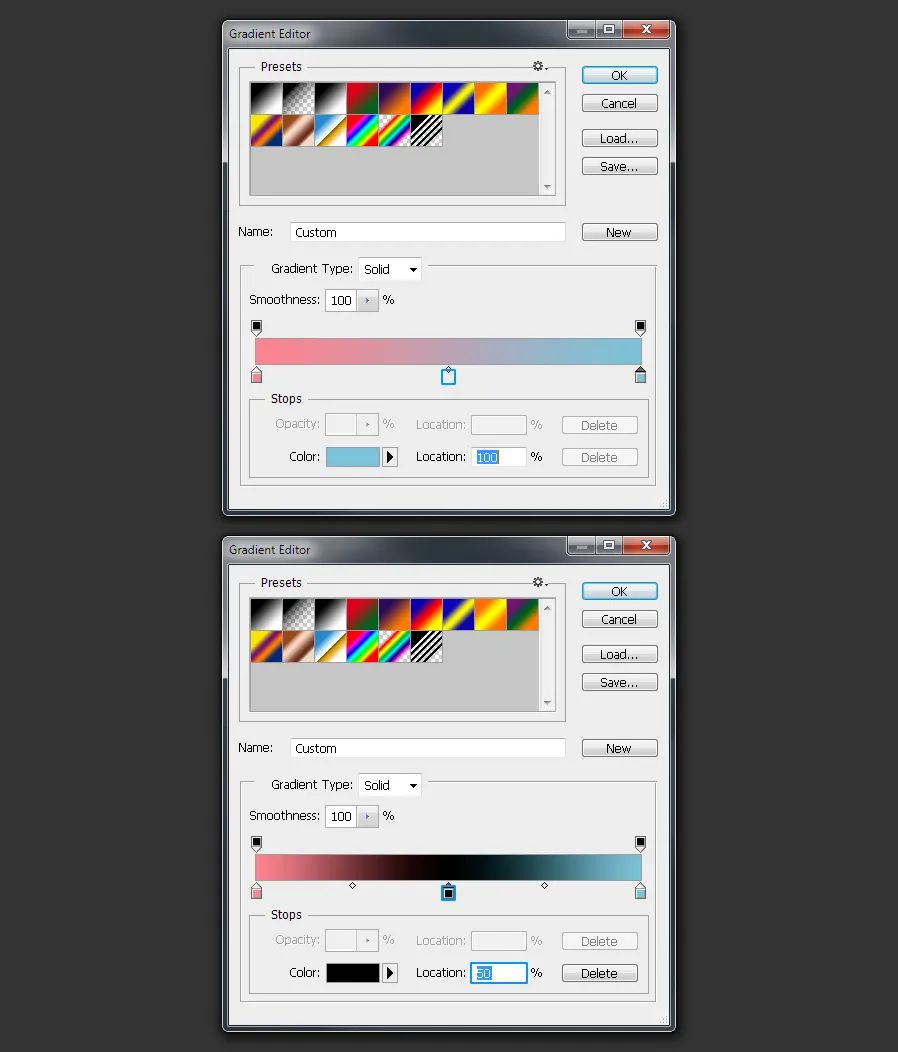
步骤12
选中添加新的色标后,单击天空渐变的中间,将该颜色添加到渐变中。

步骤13
在渐变编辑器中靠近25%和75%的位置添加两个新的色标。
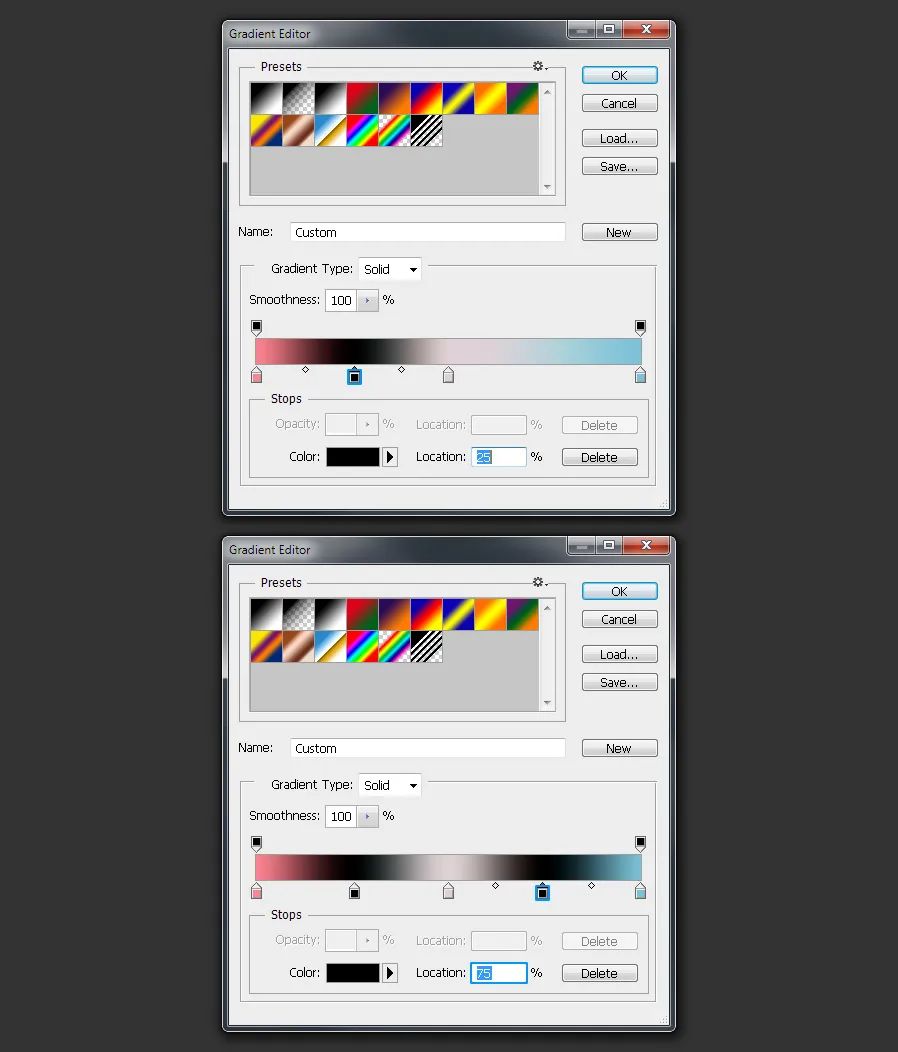
步骤14
选择一个25%的图像,然后在该位置附近的天空渐变图像上单击,将该颜色添加到渐变中。
步骤15
现在,选择一个75%的图像,再次在该位置附近的天空渐变图像上单击,将该颜色添加到渐变中。
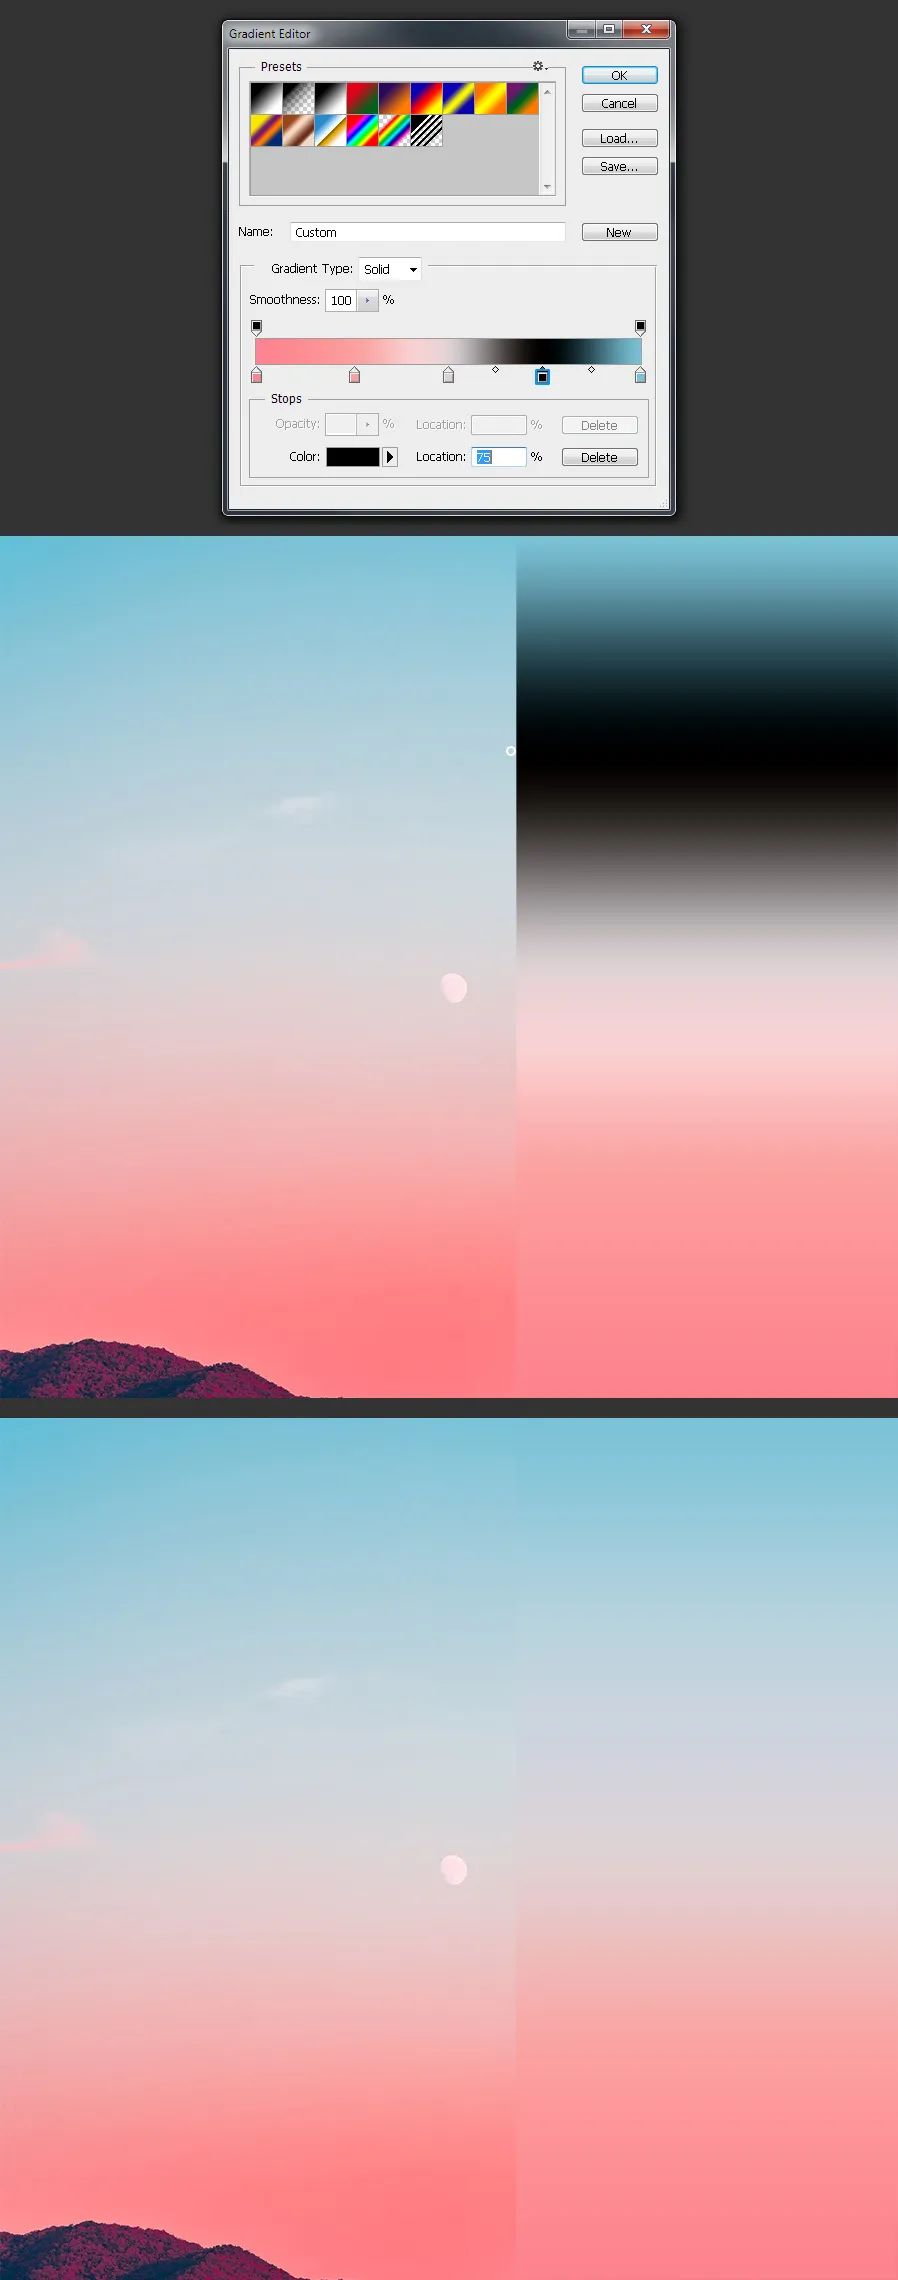
步骤16
现在,只需重复此过程,即可根据需要添加任意数量的色标,然后单击天空图像,将这些颜色添加到渐变中。
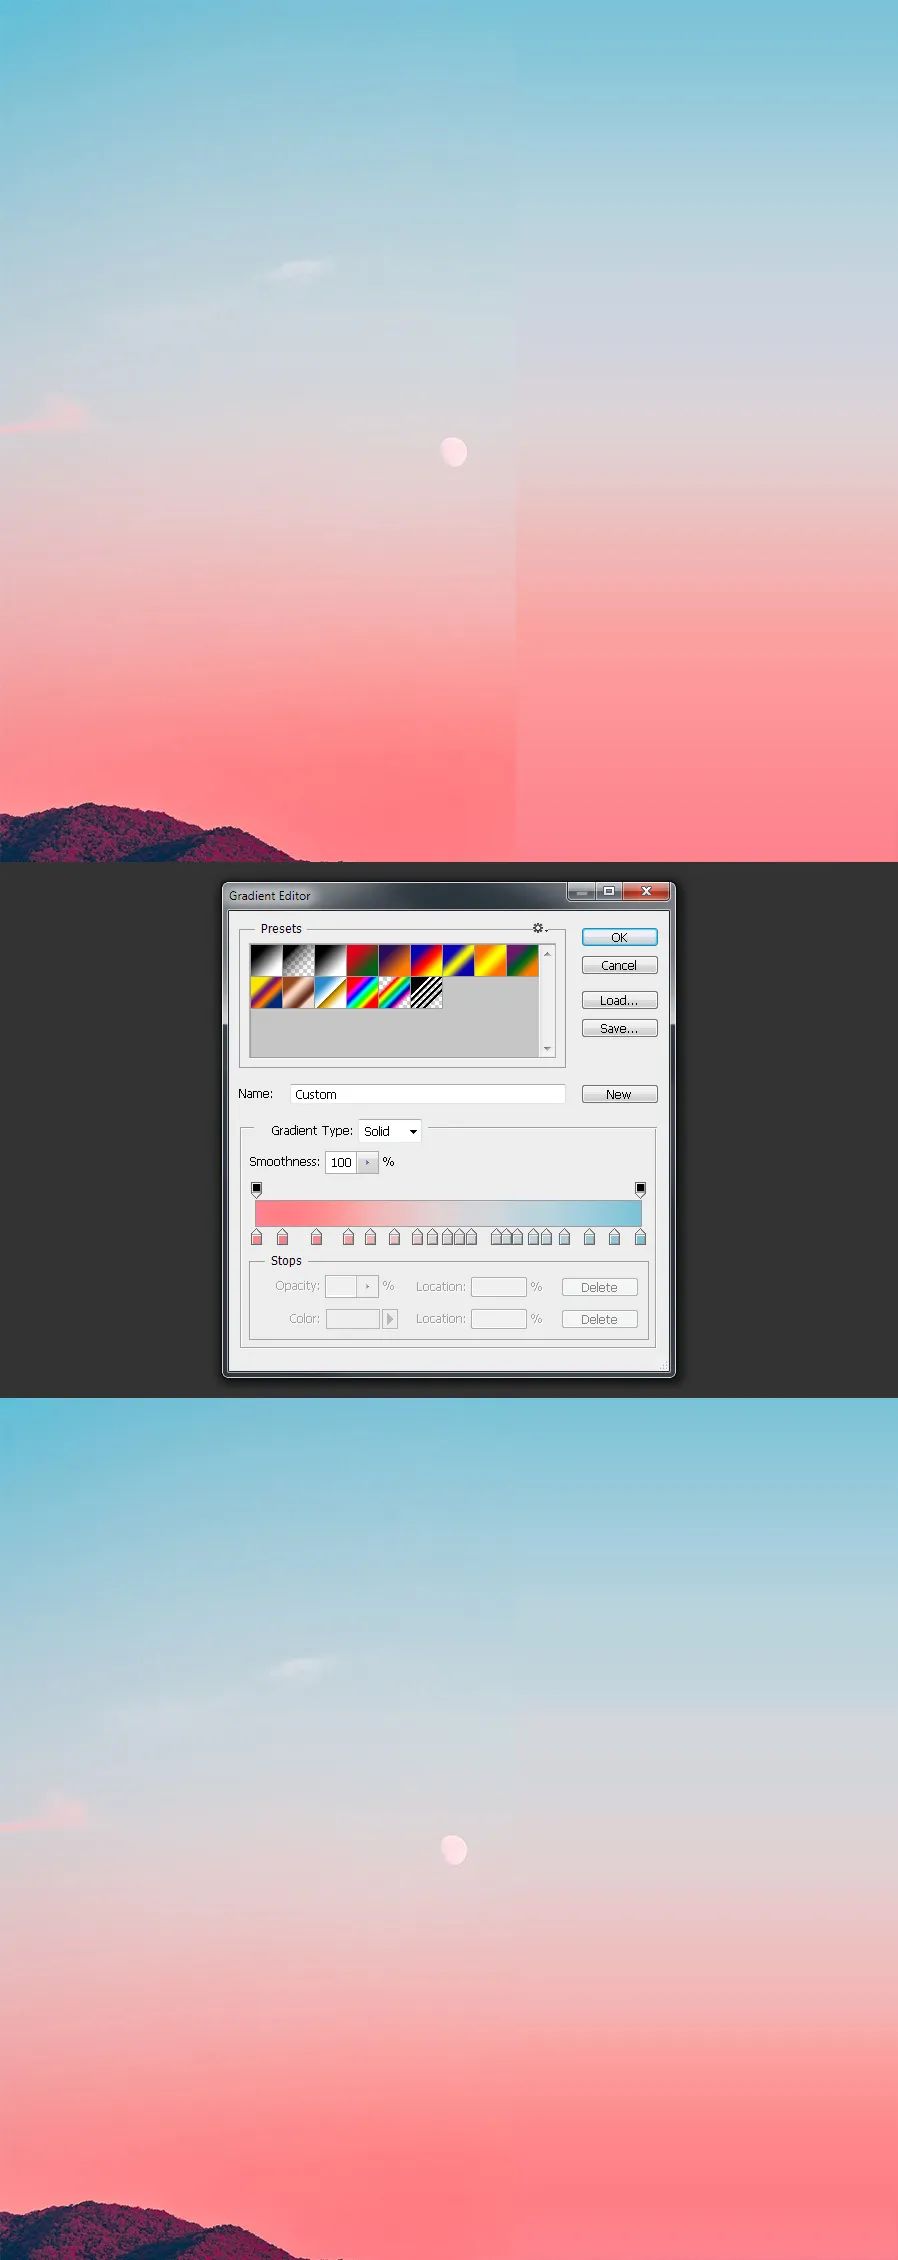
步骤17
完成后,为该渐变命名(我将其命名为“ Autumn Sky”),在渐变编辑器中单击“新建”按钮,然后单击“确定”。
步骤18
再次,在“渐变填充”窗口中单击“确定”,将渐变应用于“天空渐变”图层并删除图层蒙版,最后完成复制晚霞天空的效果图,如下。
大家学会了吗?